
Discover how to efficiently manage your team's workload using the convenient Auto-Schedule feature.
Introduction
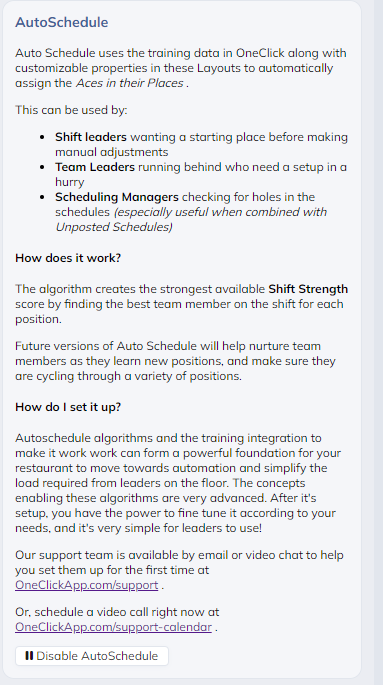
Efficiently allocating team members to positions is essential for maximizing productivity in customer service. Auto Schedule is a feature that automates this process by assigning team members based on their ratings. This article will guide you through enabling and using Auto Schedule to optimize your workforce allocation.
Enabling Auto Schedule
-
Access the Layout Editor:
- Navigate to the layout editor in the system to modify your store's setup.
- Enable Auto Schedule
- Within the layout editor, find the option to enable Auto Schedule and activate the feature.
- Within the layout editor, find the option to enable Auto Schedule and activate the feature.
Original version:
Legacy version:

Utilizing Auto Schedule
-
Access the Main Page:
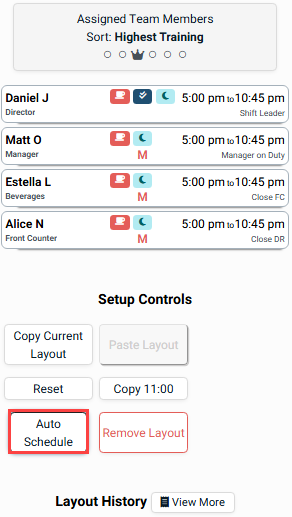
- Return to the main page or roster interface, displaying team members and their positions.
-
Initiate Auto Schedule:
- Scroll to the bottom of the roster page and click the "Auto Schedule" button to automatically assign team members based on ratings.
-
Adjust Assignments (Optional):
- While Auto Schedule provides initial assignments, you can make adjustments as needed to optimize the allocation for specific requirements or preferences.
Witnessing Auto Schedule in Action
For a visual demonstration of Auto Schedule's functionality and benefits, watch the provided video. It showcases the process and advantages of using Auto Schedule for efficient workforce allocation.
Original:

Legacy:
The following is a transcript of the video generated by a computer. The wording may be different.
Hey everyone from OneClick, this is Kevin. I'm going to explain how you can use your auto schedule feature. Now, this is much better when you do have ratings in your training program. So, you can see here, this one has a lot. You don't have to use it, but it's much more accurate if you do have a lot of ratings in there. So, the way— It is turned off by default, so the way that you activate it, so go into your layout editor coming down here, and you can see enable auto schedule, so when I click on that it automatically saves, I can hit leave layout editor. And I did it before, but I can just go down here and reset it, and now when I click on auto schedule, it's going to put the aces in their places. So, you can see here, Haley is on her dispatch, which is just like a driver, so when I go there, you can see that she's really solid a driver. I can go over here to, let's say, Samuel, he's on bagger, I can see there he's really good at bagging. And you don't have to set with this, so maybe I want to give them some training, so I can switch Haley and Samuel there on those and we can switch there, that kind of a thing.
[01:11] Now, the way that the auto schedule works is it takes, so for example, dining room, it takes this minimum number as well as the auto schedule priority into consideration and so you can go through and assign, “hey, it's going to look at auto priority ones first”, so anything that has a one next to it, so this one is a two, and so it has auto priority two, so it's going to, in this case, between just these three, it's going to fill dining room first, then it's going to try and fill the register, and then do somewhere, there's a three, if there's a three, it does that, and then this one does it fourth, so it goes one, two, four, and so on. If it had a minimum number, that's how it would prioritize, if you know, it does two and then also has a minimum number, and there's another two, it would prioritize that as well.
[02:02] You can notice here that it takes the training position, so that's what it's looking at and saying, “you're on register”, that's associated with our front counter training position. So, let's see who's the best in my roster here that's really good at front counter. In this case, it's going to be Jace. And so, then it goes through and does that, and you can see here, when I talked about the dispatch, and you have your driver position, or for stalker, has your front counter, that kind of a thing. So, that's why that is important, to make sure you're associating with the correct ones, so the auto schedule can know where to put people based on your training, or your training ratings, and then as well, you're also going through and putting auto schedule priority, so the idea is you're putting all the positions that you really want for sure, this is like your bare bones setup with at least a one there, so like your dining room, your register, that kind of stuff, and it's going to try and fill those ones first, and then you can do all the rest as two, as this example.
[03:02] Or you can also do it where it's, “hey, if I have five people, it's going to be one, two, three, four, five”, and then goes through that whole setup as well. If you do have any more questions about the layout editor, don't hesitate to reach out, you can either email us, or use the ‘Reply with Video’ link down below, and we'll talk to you soon.