Table of Contents
Layout Editor
OneClick layouts may be customized with different positions at different times throughout the day. Managers and Directors have access to the Layout Editor when they are logged in using their accounts.
Before you utilize your Layout Editor, please note the following:
- It's a good practice to not have two people working in the Layout Editor at once as this may cause you to loose your work.
- Make sure to press Save All before leaving the Layout Editor page, or you may loose your work.
- If Layout Editor changes don't appear on your Shifts, refresh your browser or click "Update Layouts" in the shift time dropdown.

To learn more about Layout Editor, please watch the video below.
Active Times
You can have layouts based on the day and time of the week. For example, Monday at 6:00am you only need 10 team members where Friday at 5:00pm you need 40. Customizing your layouts can help you increase management and efficiency.
Each shift time is assigned a layout template, which can be configured by you. Each templates can be assigned to one or more active times. For example, your 11:00am shift and 2:00pm shift can show the same layout template.

Customize Active Times
| 1. Open the Layout Editor. |  |
| 2. Choose BOH or FOH. | 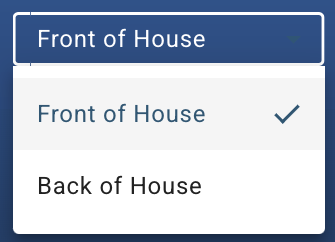 |
| 3. Choose your template you want to make changes to |  |
| 4. Checkmark the times you want the template to be active. | 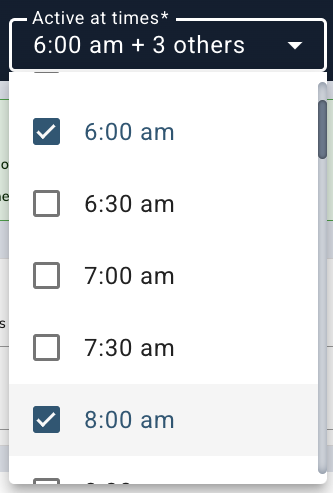 |
| 5. Press Save All |  |
Watch more on how to use Shift setup times
Adjust Days of the Week
Have your template apply to specific days of the week to further customize your shifts experience.
Watch more on how to use Shift setup times
Sections and Positions
Easily make changes to your layouts by renaming the sections and/or positions to match your stores setups.
Difference
| Section: The "title" of an group of positions. | 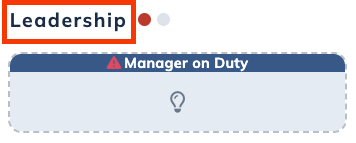 |
| Position: Where Team Members will work. | 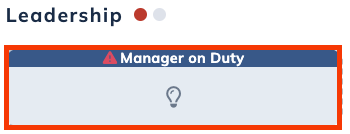 |
Renaming
| Section: Select section title, then rename in column on the right. | 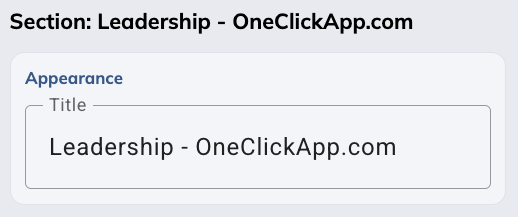 |
| Position: Select position title, then rename in column on the right. | 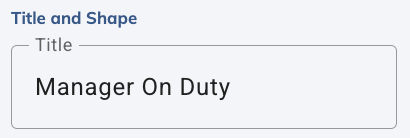 |
Adding New
| Section: Select section title, find Location box in right column, press "⬆Insert Before" or "⬇Insert After". | 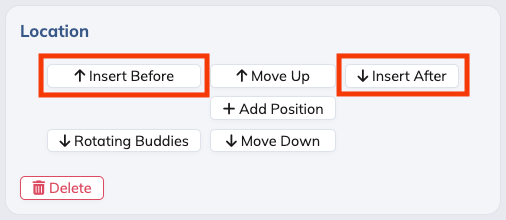 |
| Position: Select section title, find Location box in right column, press "+ Add Position". | 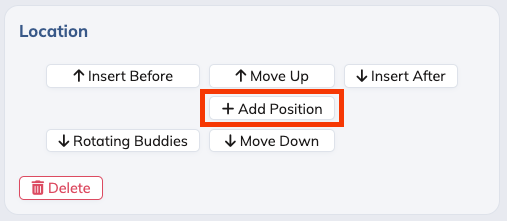 |
Changing Location
Easily adjust the locations of your sections and positions on your layout.
| Section: Select section title, find Location box in right column, press "⬆Move Up" or "⬇Move Down". | 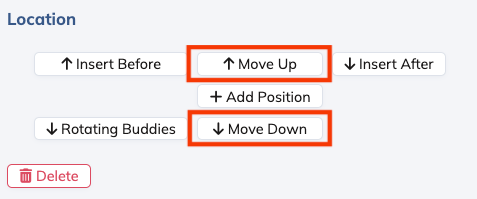 |
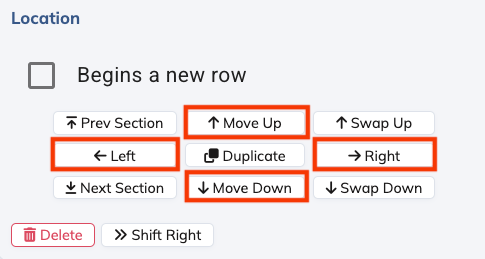
| Position: Select position title, find Location box in right column, press "⬆Move Up", "⬇Move Down", "⬅Left", or "➡Right". |
|
Resizing
Resizing allows for more room for added Team Members to be assigned. This provides customization for how your layouts are configured, maximizing your space.
| Section: Cannot be resized. Size depends on how many positions are added. | |
| Position: Select position title, find Title and Shape in right column, adjust width and height. | 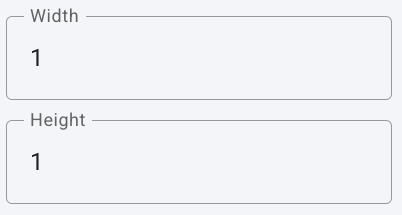 |
Prioritizing
You can set a minimum or maximum number of position assignments, notifying the Leader and the Auto Scheduler know which positions are high-priority.
| Section: Cannot prioritize. | |
| Position: Select position title, find Title and Shape in right column, set Max Number and Min Number. A Min Number of 1 or more will mark a red exclamation point icon on the position on Shifts. | 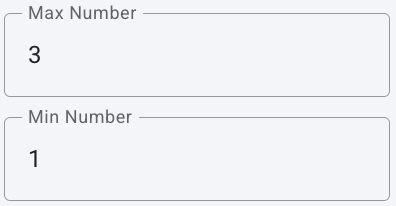 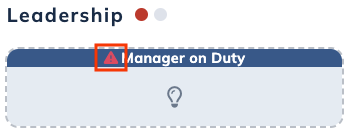 |
Invisible
When you set a position as invisible, it means that position is used to create empty space on a layout.
| Section: Cannot make invisible. | |
| Position: Select position title, find Title and Shape box in right column, checkmark Invisible checkbox. | 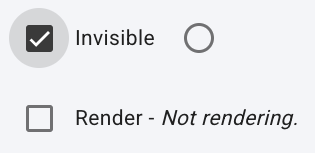 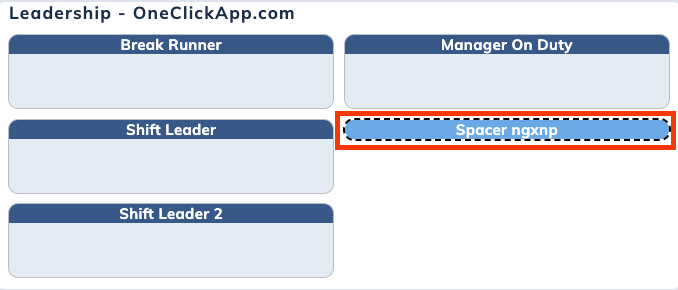 |
Render
When you set a position as render, the position will be hidden and the other positions will flow together, not creating space for it. Many use Render to temporarily hide that position from the section.
| Section: Cannot make invisible. | |
| Position: Select position title, find Title and Shape box in right column, checkmark Render checkbox. | 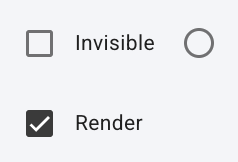 |
Watch more on how to customize layouts.
Associated Checklists
OneClick saves you time by allowing you to associate checklists to positions. This way, when you assign someone to that position on Shifts, they will automatically be assigned that checklist.
Associate a Checklist:
| 1. Open Layout Editor | |
| 2. Select a template and a position. | 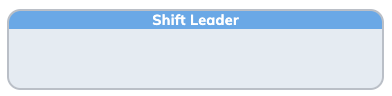 |
| 3. Find Associated Checklist box in right column. | 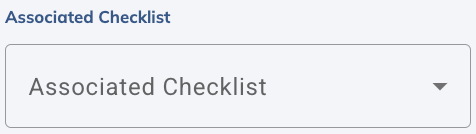 |
| 4. Click dropdown and choose checklist to associate with position. Note: you can only associate active checklists. | 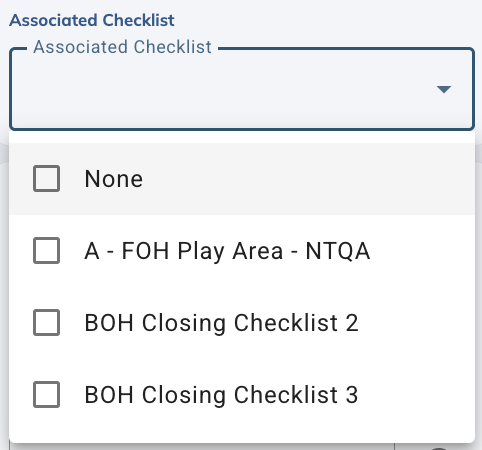 |
| 5. Press Save All | |
Data Interactions
Associated Training Position
Connect a position to a training position using the Associated Training Position. This will tell Auto Schedule how to put "Aces in their Places" using Training Ratings. It will also trigger Rating Prompts to highlight rating opportunities.
| Section: Cannot be given an Associated Permission. | |
| Position: Select position title, find the Data Interactions box in the right column, click the Associated Training Position dropdown and select your preferred association. | 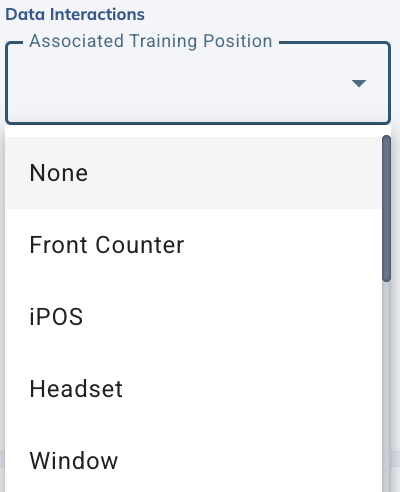 |
Associated Permission
Speed up your workflow by associating a permission with a position. For example, a Shift Leader position would have "Shift Leader" in the Associated Permission. Then which ever Team Member that has "Shift Leader" permissions on that shift would be auto placed into the Shift Leader position.
| Section: Cannot be given an Associated Permission. | |
| Position: Select position title, find the Data Interactions box in the right column, click the Associated Permissions dropdown and select your preferred association. | 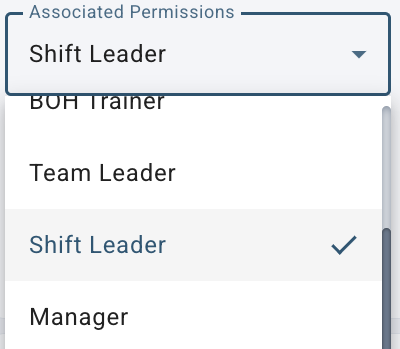 |
⬇See it in Action!
Auto Schedule Priority
When you press Auto Schedule on shifts, you may want to let the system know the order of position fulfillment priorities. For instance, you would like Register 1 to be filled before Runner (both have a minimum number as 1 or more). Using the Auto Schedule Priority, you are able to set the priority order for assigning Team Members to this position. 1 is the highest priority and it will go in order from there (2nd, 3rd, 4th assignments). A second click of the Auto Schedule button will assign remaining team members to positions with no priority set (or set to 0). To prevent Auto Scheduling in a position, set to -1.
Not duplicating numbers: You label each position in order 1,2,3...,16, the Auto Schedule will fill your position 1 first, position 2 second, and so on.
Duplicating numbers in "buckets": If iPos and Register had a 1 and Bagger had a 2, the Auto Schedule would try and find positions for iPos and Register at the same time. Once it finishes both it will find someone for Bagger.
*Note Auto Schedule also looks at the minimum number assigned.
Learn more about Auto Schedule here.
| Section: Cannot be given an Auto Schedule Priority. | |
| Position: Select position title, find the Data Interactions box in the right column, click the Autoschedule Priority and enter the order of that position. | 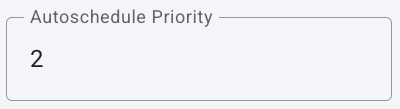 |
HotSchedules Job Title(s)
Save even more time by having the system automatically assign HotSchedules codes to positions. For example, if in HotSchedules you assign the Team Member in charge with the job code "Leader", the system will automatically place that person in the position assigned to that job code.
| Section: Cannot be given HotSchedule Job Title(s). | |
| Position: Select position title, find the Data Interactions box in the right column, click the HotSchedules Job Title(s) and type int the job code you would like to associate with that position. | 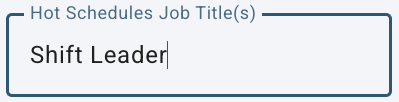 |
⬇See it in Action!
Rotating Containers
Rotating Buddies is a system that tracks Team Member rotations between two or more positions. The Rotating Containers allows you to create a rotating position using sets, where you can then drag and drop Team Members there and track rotations.
| Section: Cannot be given Rotating Containers. | |
| Position: Select the position title, find the Rotating Containers box on the right column, checkmark "Is a Rotating Container" to enable feature. Check "Skip Rotations" to exclude a position from rotation tracking. | 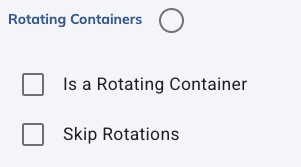 |
Manage Templates
Setup specific templates to be active on specific days through the Manage Templates option.
Accessing Manage Templates
| 1. Open the Layout Editor. | |
| 2. Select FOH or BOH and the template you want to manage. | |
| 3. Open the right column using the < icon on the upper right side of the screen. Ensure no sections or positions are selected. If you are having difficulties unselecting a position or section, choose a different layout in the dropdown, then reselect the layout you want to edit. |  |
| 4. If needed, select "Manage Template" from the right column. | 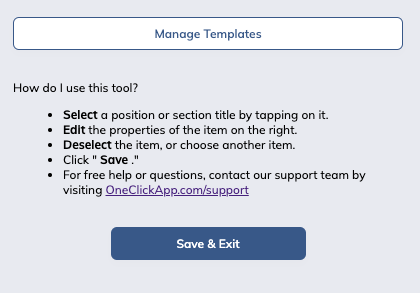 |
Details
Rename, resize or set active days for each template.
Width: This will allow you to set the width or the number of positions in a row on the layout.
Active Days of the Week: Use this to only assign that template to certain days of the week. For instance, if you want a template to reflect on Saturdays at 12:00pm, but not other days, you can do that here.
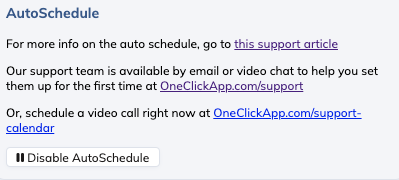
Auto Schedule
Disable Auto Schedule if you don't want this feature available to your Leaders for this template.
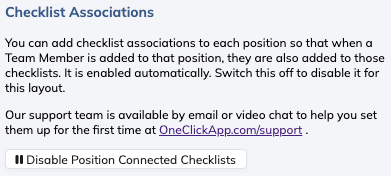
Checklist Associations
Disable Checklist Associations if you do not want to allow Leaders to associate a checklist in that template.
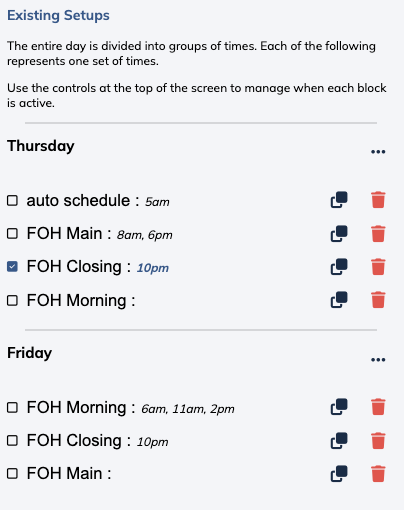
Existing Setups
Have a one-look option into your templates to see which layouts are assigned at which times and days of the week. Quickly make adjustments here.
Default Layout Times Strategy
The “default layout time strategy” is how OneClickApp knows what times to generate layouts for your store automatically. You have the capability to automatically generate setups based on the day of the week to help you better adapt to different situations.
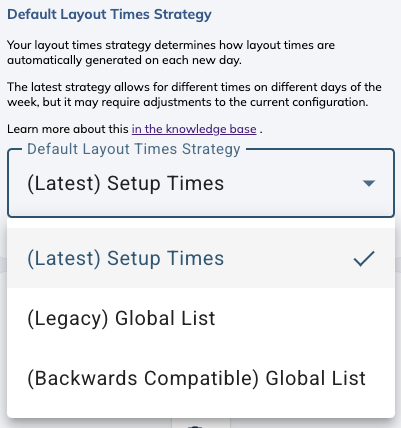
Global List: This means that no matter what day of the week or your setup times are, OneClick will generate one set of default layouts every day.
Setup Times: OneClick will look at your “Setup Times” for each day individually and automatically generate a layout for each time.
For example: If I had setup times for every day at 3:00, 4:00, and 5:00 and had setups at 3:00, 4:00, and 6:00 on Monday only...

...you would see layouts automatically generated for 3:00, 4:00, and 5:00 on every day of the week except for Monday.

Layout History
Tracking layout changes is essential for accountability, maintaining a record, and understanding the evolution of a store's layout. The Layout History feature offers a comprehensive overview of modifications, allowing Leaders to view a summary or detailed account of changes made.
Accessing Layout History
| 1. On Shifts page, scroll to the bottom of the lineup on the right of your screen. Locate Layout History box. | 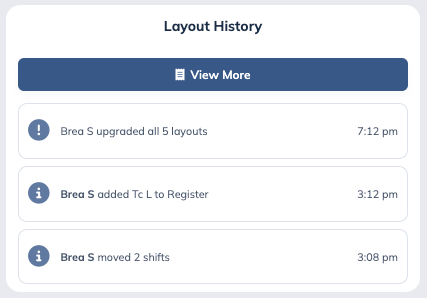 |
| 2. Press "View More" to see an extension of this history. |
|

Understanding Layout Changes
The Layout History feature provides visibility into various modifications made to the layout. Here are some changes you can observe:
-
Adding or Moving Team Members:
- Records when a leader adds or moves a team member to a position.
- Provides insights into personnel changes within the layout.
-
Layout Completion and Assignment:
- Captures when a layout is completed and team members are assigned to their positions.
- Tracks the finalization of a layout.
-
Resetting and Auto Scheduling:
- Tracks instances where a leader resets the layout or performs an Auto Schedule.
- Provides information on major layout changes and operational adjustments.
-
Copying and Pasting Layouts:
- Records when a leader copies previous or following layouts or pastes a layout from a different time period.
- Helps understand the evolution of the layout and the reasoning behind changes.
-
Creating and Removing Layout Times:
- Captures when a leader creates a new layout time or removes an existing one.
- Tracks layout schedule organization and changes in configuration over time.
FAQs
What default permission level do I need to have to access the Layout Editor?By default, Manager. Director, and Operator are allowed access to the Layout Editor.
I am getting Error: "1 structures failed to save".

This is because one or more positions have the same name. Then when you try and save it says it failed. You just need to change one of the same named positions to something different and it will save. You may also need to look at invisible positions.
I clicked "save." Why don't I see my changes?
When you make changes in the layout editor it doesn't update the layout until you click the Update (All) Layout. This is because if you deleted a position and a Team Member was in the position it would delete that Team Member from the day. 