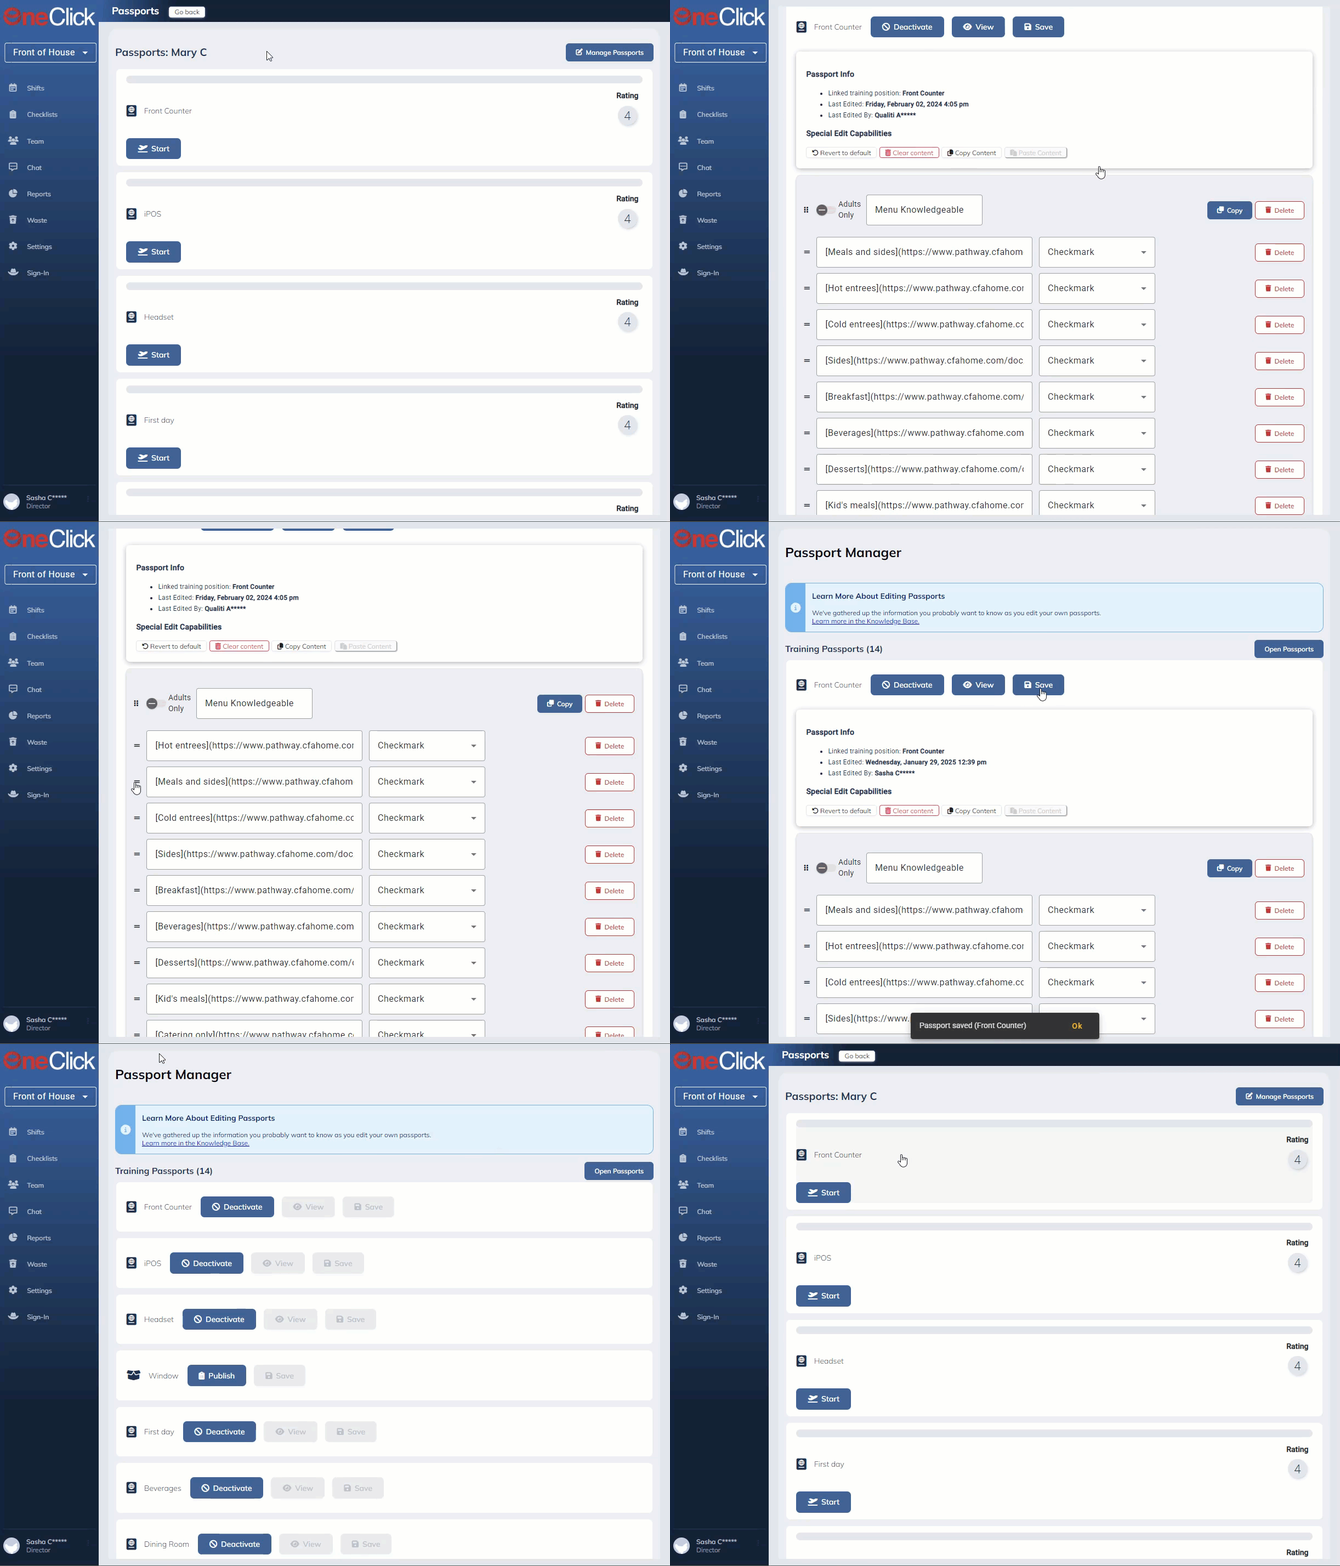
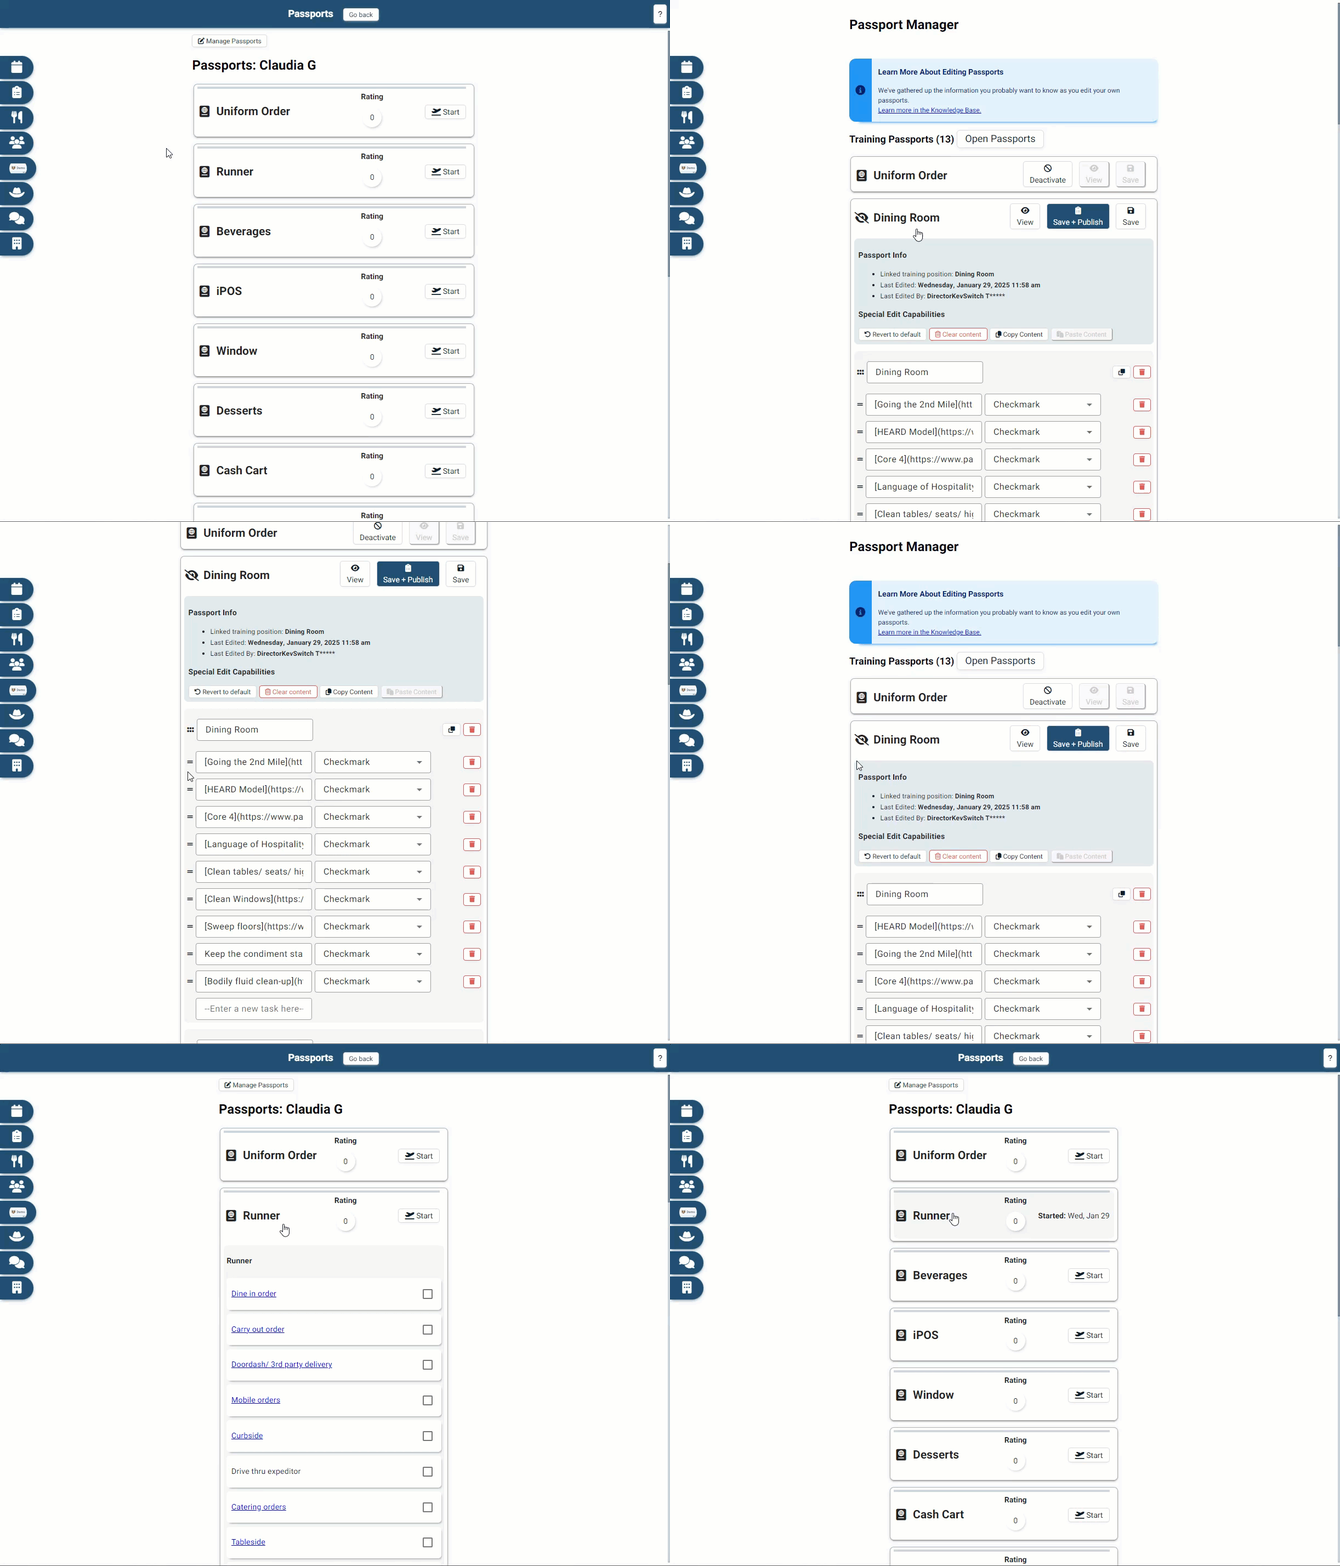
Learn how to use Passport Manager to activate, customize, and oversee the training passports used within your teams.
Introduction
Efficient management of training passports is essential for organizations to ensure effective skill development and certification. With the Passport Manager feature, managers can activate, customize, and oversee the training passports used within their teams. This article explores the key functionalities of Passport Manager, including activating passports, reordering training tasks, changing input types, and reverting to default templates.
Original:

Legacy:

Activating Passports
The Passport Manager allows managers to activate specific passports for their teams. By navigating to the Passport Manager interface, managers can select the desired passport and click on the "Use" button to activate it. This feature enables seamless deployment of tailored passports, aligning training with the specific needs of each team or individual.
Reordering Training Tasks
To further customize the training experience, managers can easily reorder the list of training tasks within a passport. Similar to the functionality of checklists, managers can use drag-and-drop capabilities to move tasks up or down the list. This flexibility empowers managers to prioritize training tasks based on urgency, relevance, or specific developmental needs.
![]()
Changing Input Types
The Passport Manager allows managers to modify the input types within a passport. Managers can leverage dropdown lists to change the input field associated with a particular training task. This feature enables managers to adapt the input requirements based on the nature of the task. Available input types include photos, signatures, number and text fields, dropdown fields, and checkboxes, offering versatility and customization options.

Revert to Default
In the event of accidental modifications or deletions, the Passport Manager provides a "Revert to Default" functionality. Managers can easily return a passport to its original default template, ensuring consistency and preserving important sections. This feature acts as a safeguard, preventing unintended alterations and allowing managers to recover any accidentally removed sections or tasks.
The following is a transcript of the video generated by a computer. The wording may be different.
[00:01] Everyone from OneClick, this is Kevin. In this video, I'm going to show you how to use the passport manager. So, that way you can create your custom passports or use the ones that we have, and then be able to change it to be however you want it. So, to get to the passport manager, the easiest way is to right click on someone or to hold down left click if you're on an iPad, and then click on passports up here. Or you can click on their profile, and then click on ratings and then hit go to passports. So, inside here, you have all of these passports. And in another video, we'll go over how to— What each of these represent. But we can click on manage passports. And then we can open up just like your checklist here. And you can see here like, “hey, we're testing this one”. So, I'm going to copy it so we can get it back. But I can click on this revert to default, and it will go back to what it originally is for dining room.
[01:02] And I can go in and just like the checklist, move this up. “Hey, I want this one there”, I can then view it to see what it looks like to “hey, I like this” or “no, I don't need them to know the restrooms, I want to have that as a separate thing”, whatever. So, I can just delete that. Or I can go in and say, “hey, I want this actually to be done on the first day” or “hey, I want that to be done as a runner”. And so, I can copy that content, go into the runner and hit paste. And then you can see that dining room is that section there. So, I went over that a little bit fast. So, let me re kind of go through. So, I can as a default, click revert to default, and that will reprint it back to our default templates that I made, we can hit clear content, which will erase pretty much everything and go back to wherever the last safe state was, or the default one. I can hit copy content or paste content, and then we'll paste whatever I have copied there. And then each of these have— Not each of these, but a lot of these have a link. And that uses what's called markdown. And so, you can use that to put like a link or a checklist.
[02:20] So, if we went to like, for example, the front counter one, you can see here that it has like a bunch of stars and asterisks. And so, when I hit view, you can see that it is in a list. And that's what markdown is. And then even as well, you can activate it or reorder them just like you could, like I want maybe want meet first or whatever. By doing that, I can hit edit, or go back to the edit part. From here, I can find the one that I want to move up, I can do that there or “hey, I want this after allergies”, whatever the case is.
[03:02] And then the last thing that we're going to kind of go over is how to activate a passport. So, in this case, all of these have been activated. So, if they were deactivated, it wouldn't show this publish part, it would just be published or whatever. As you can see here in a different store, this one doesn't have any passports activated like I did in the other one. So, I can go to manage passports. And in this case, outside expediter, I can click on the use. And when I do that, I can go back. And you can see here that the outside expediter is open up for everyone. And when I click on that, I can be able to see all of the defaults inside. And just like we did earlier in the video, I could change those however we want. So, if you have any questions, don't hesitate to reach out, we can help you customize your individual passports. Or if you need help with anything, just let us know.
